Saturday, 27 October 2012

Always Biting Off More Than I Can Chew; Log Cabin Makeover; Part III

Pin It
Lots of pictures in this post.  We went to the house a couple of times and took down a few trees.  Johnny did some branch limbing "Manuel" style in behind the shop.  Things were looking pretty good.


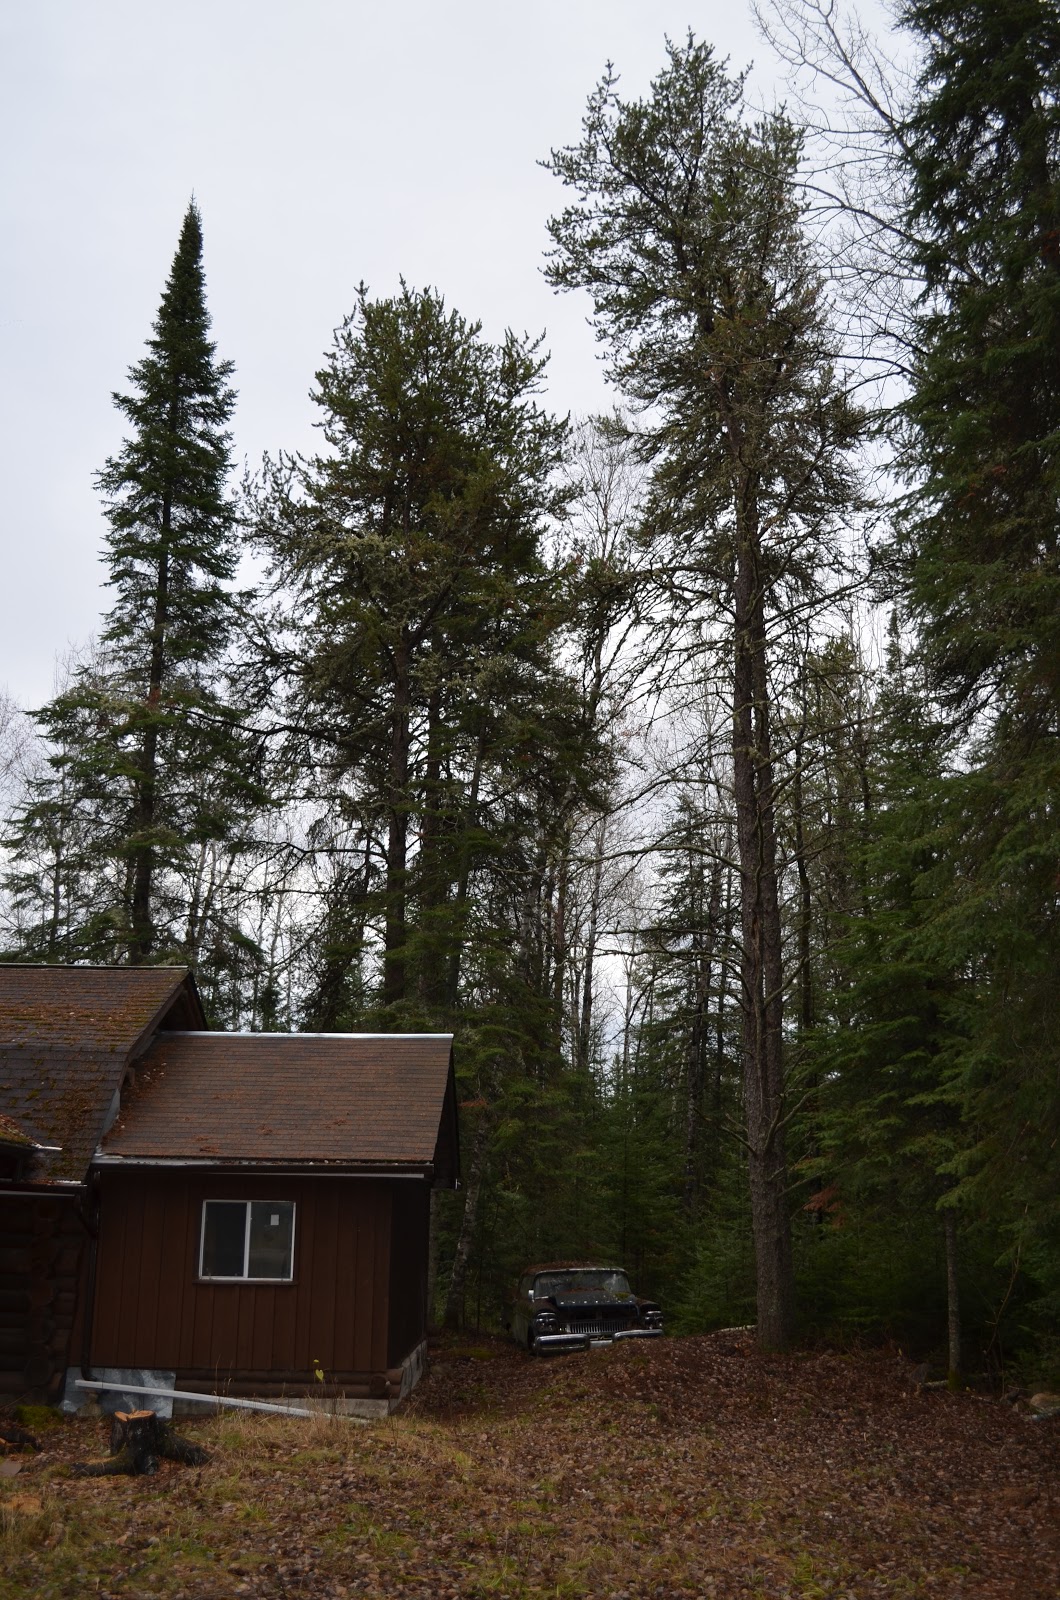
Before


After, hard to see, but we took down one of the tall Jack Pines on the right.

Then "Hurricane Dave" came along to help.  That's my new nickname for my cousin Dave, you will see why!


The first thing he did was move the old car out to the street, I need to arrange to have it picked up.


So this is how the front looked before Hurricane Dave came by.


And a few of the back yard.


Here he comes!


After pushing the trees over, he picked them up and shook them to get rid of some of the sand, Johnny cut off the roots, Dave would pick up the roots and shake them again and then pile them up.


Dave Starratt hard at work.


We left that mess and moved to the front.  This one fell just right.


And then...


Oops!  This one almost gave Dave a heart attack!  It was heading right for the house and he couldn't redirect it, and then for some reason it slowed right down and rested gently on the roof, didn't even take off the eave trough!


He lifted it off and moved it over.


Manuel moved in to cut the roots off.


Here we go again!


We thought he would push this one on top of the last two, but he couldn't take the stress.  He pushed it into the bush and then pulled it out for limbing.


I can't believe we walked away and left it looking like this, but we did.  We had to get home so Johnny could help Budd with gyproc, and we probably won't get back to clean it up until we get back from our trip to Missouri.  I told him that I always feel good when we leave because we have made improvements, hmmm, this time? Don't think I can say that, but sometimes it has to get worse before it can get better.


Backyard


Manuel couldn't pull himself away until the power saw ran out of gas.  He plans to get a portable sawmill so he's salvaging the big chunks for that, and the rest will keep us warm next year after they dry.


I can't wait to get back there and start the clean up!

Pin It

My Sterling Quilt

Pin It


I was going to tack a picture of this quilt on to the end of my last blog, but then I decided it deserves a post of its own.  I made this quilt several years ago from a picture of my son Sterling.  This is the only picture quilt I have made, I drew the image by hand and went from there, dividing each portion of the picture into shades of colour.  The original picture is of Sterling sitting on a snow machine, leaning on the seat, I think we were out ice fishing, or maybe just having a hot dog roast.


Sharing At

Pin It

And Now For Something Completely Different; Baby Girl Quilts

Pin It

I started these two quilts a couple (or maybe 3) years ago.  They have been laying on my sewing table (you can tell it hasn't gotten much use lately) covered with plastic to keep them protected.  I find myself in need of a baby shower gift for a special little girl.  I know, they are all special, so true, but this one is special to me.  So I pulled them out and finished one up, so I thought I would show them to you.  I don't usually do this type of quilting, cut and paste quilting I call it, (I have only done one other besides these two) but I wanted a lot of detail and don't feel I have the time or patience to do this by hand.  I will show you my first cut and paste quilt in my next post.  I am quite proud of it.


This is not going to be a real tutorial I will just show you a couple of the steps required in the making of this type of quilt.  I made up the patterns for these quilts, just made it up as I went along.  I remember gathering my biggest bowls from the kitchen to make the circles.  Hey, I use what I have on hand :)

I ironed the fabric onto wunder under or something similar and cut out the shapes I wanted.  I then ironed the pieces onto a background fabric.


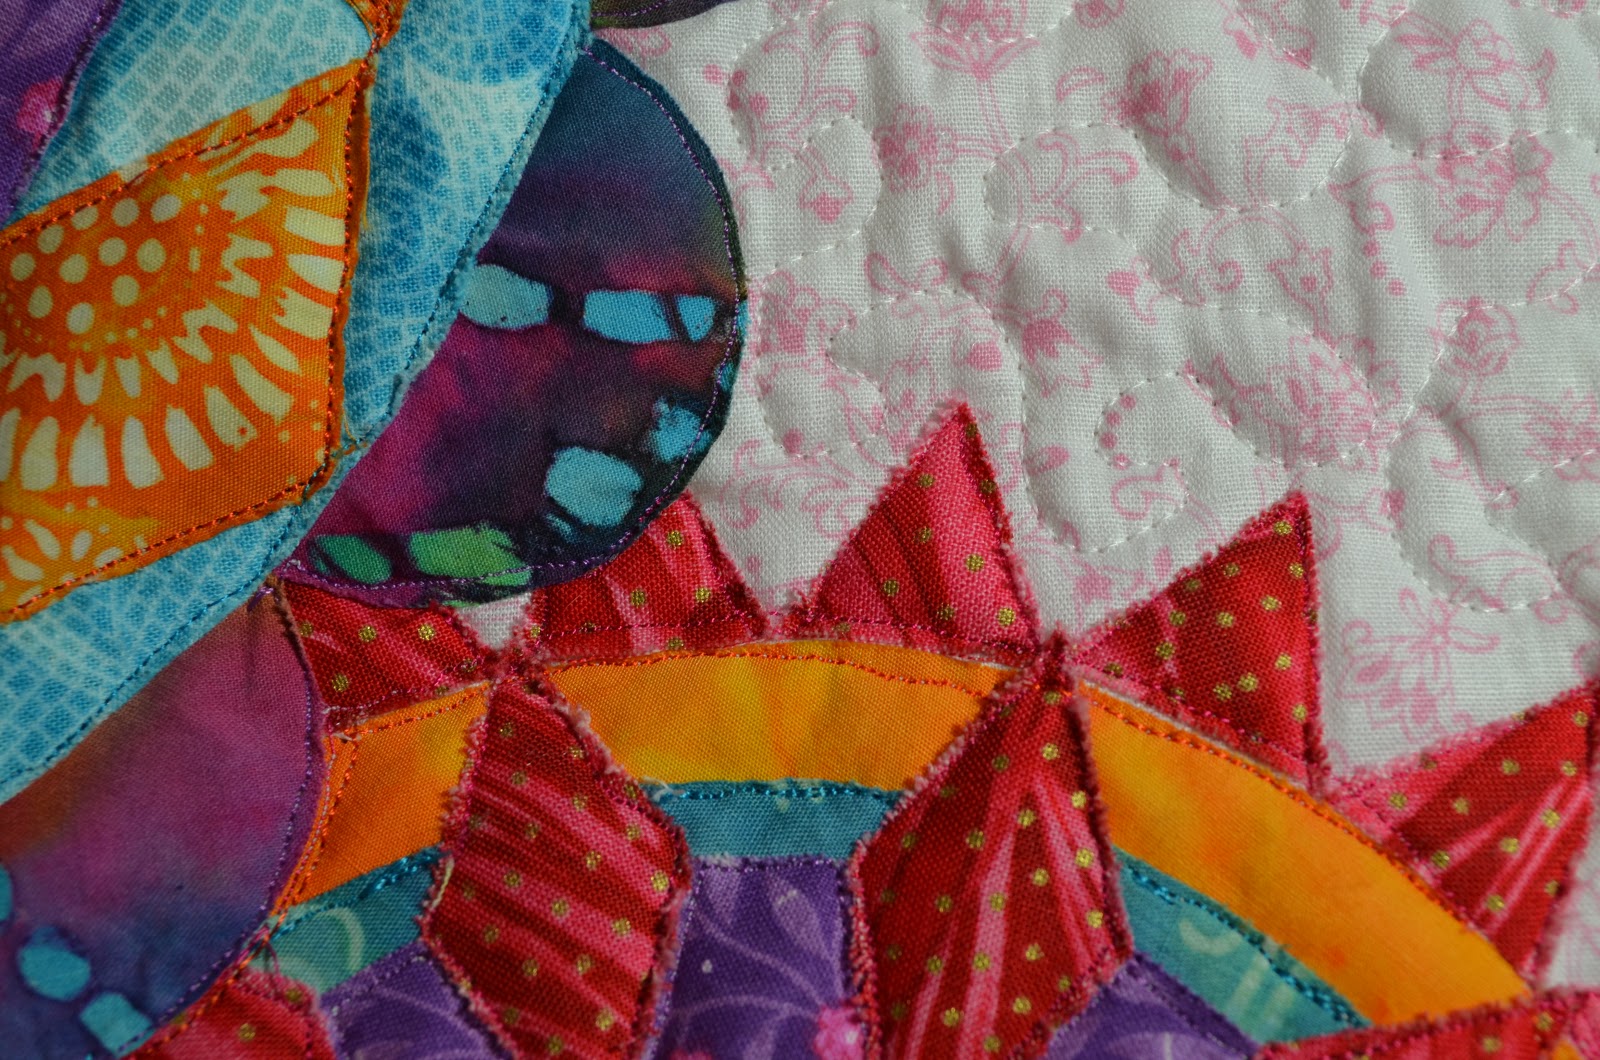
On the first quilt I did, I put the batting and backing layers together with the top and then stitched around each individual piece.  On the second one, I stitched around each piece before layering with batting and backing.  I'm not sure which is the "proper" method.  I only stitch over the pieces that have raw edges, if the piece is covered with another, I don't worry about it, notice that the blue stripe is stitched down on two edges, but the orange doesn't require it because it is overlapped with other pieces.


This picture shows how I jumped over the red diamonds while sewing on the green diamonds.  I came back and snipped the threads later.


When I was done outlining all of the raw edges, I quilted the background area.


This is a picture of the back, showing all of the quilting.


Pin It

Wednesday, 17 October 2012

Quick and Easy Vanity Stool Makeover

Pin It


Unlike most of the projects I've been  blogging about working on lately, I have only owned this piece for about a year, ha ha, how did it move up the list so quickly?  


It was time for a quick and easy project and this one fit the bill.


I couldn't tell if this was painted first white, and then gold, or if it was white and very greasy/dirty.  Regardless, after taking the cushion off I hit it with the pressure washer and then a wire brush and washed it again.


When it was dry, I sprayed it Rust-oleum gloss white.


I wrapped the seat in quilt batting.


Attaching it with staples and my electric stapler, I love this tool, so much easier than Manuel's old manual stapler.


I then repeated the process with the fabric, 


after centering it carefully of course.


It had only four screws, so putting it back together was a cinch.


I have set it up here with the pink vanity table, but I can picture it with an antique vanity, yeah, that project isn't done yet.  So many projects, so little time!


Pin It
Related Posts Plugin for WordPress, Blogger...