Showing posts with label Lighting. Show all posts

Tuesday, 2 October 2012

Pink Lady, Oh How I Love You; floor lamp makeover

Pin It
I was so happy with the green lamp, that I immediately dug out these two beauties that I have had stashed away for at least 15 years, probably 20.


First, I will tackle the lamp on the left.  Although I was quite loving the oxidization on the bottom of this lamp, I decided to go ahead and paint it because the whole idea is to update the thing, not to keep it looking old.  This lamp was oxidized when I got it, I did not abuse it this way.


I headed to Manuel's workbench for a wire brush and this is what I found.  Huh!  Really?  This is what my eyebrows look like after getting a little too close to the bonfire the other day.


 So back I went for another try.  Seriously!  This is what my eyelashes look after same close encounter with bonfire.
Okay, I know Manuel has a real wire brush because I used it last month ... Oh, yeah, ha ha, I think I know where it is, yup, still in my car!  Good thing he didn't need it this past month, he gets a little ornery when I don't put his tools away.  Anyway, this is a wire brush I can work with, but seriously, if we are so busy "downsizing" why do we (he) own two wire brushes that look like that? 

The lamps didn't look much different when I was done, but I felt better knowing I scraped off the loose dust and dirt.


Now, I am a frugal woman, and I hate to pay large sums of money for things that I (or possibly my friends, right
Wendy) have lying around.  I had to think long and hard before I remembered this beauty.  I hauled it out and took it apart for the cord and plug.  I saved most of the rest of it for future use.  Two pieces did go in the garbage (I have until tomorrow to grab them off the back of the truck, hey, I might need them for something!).


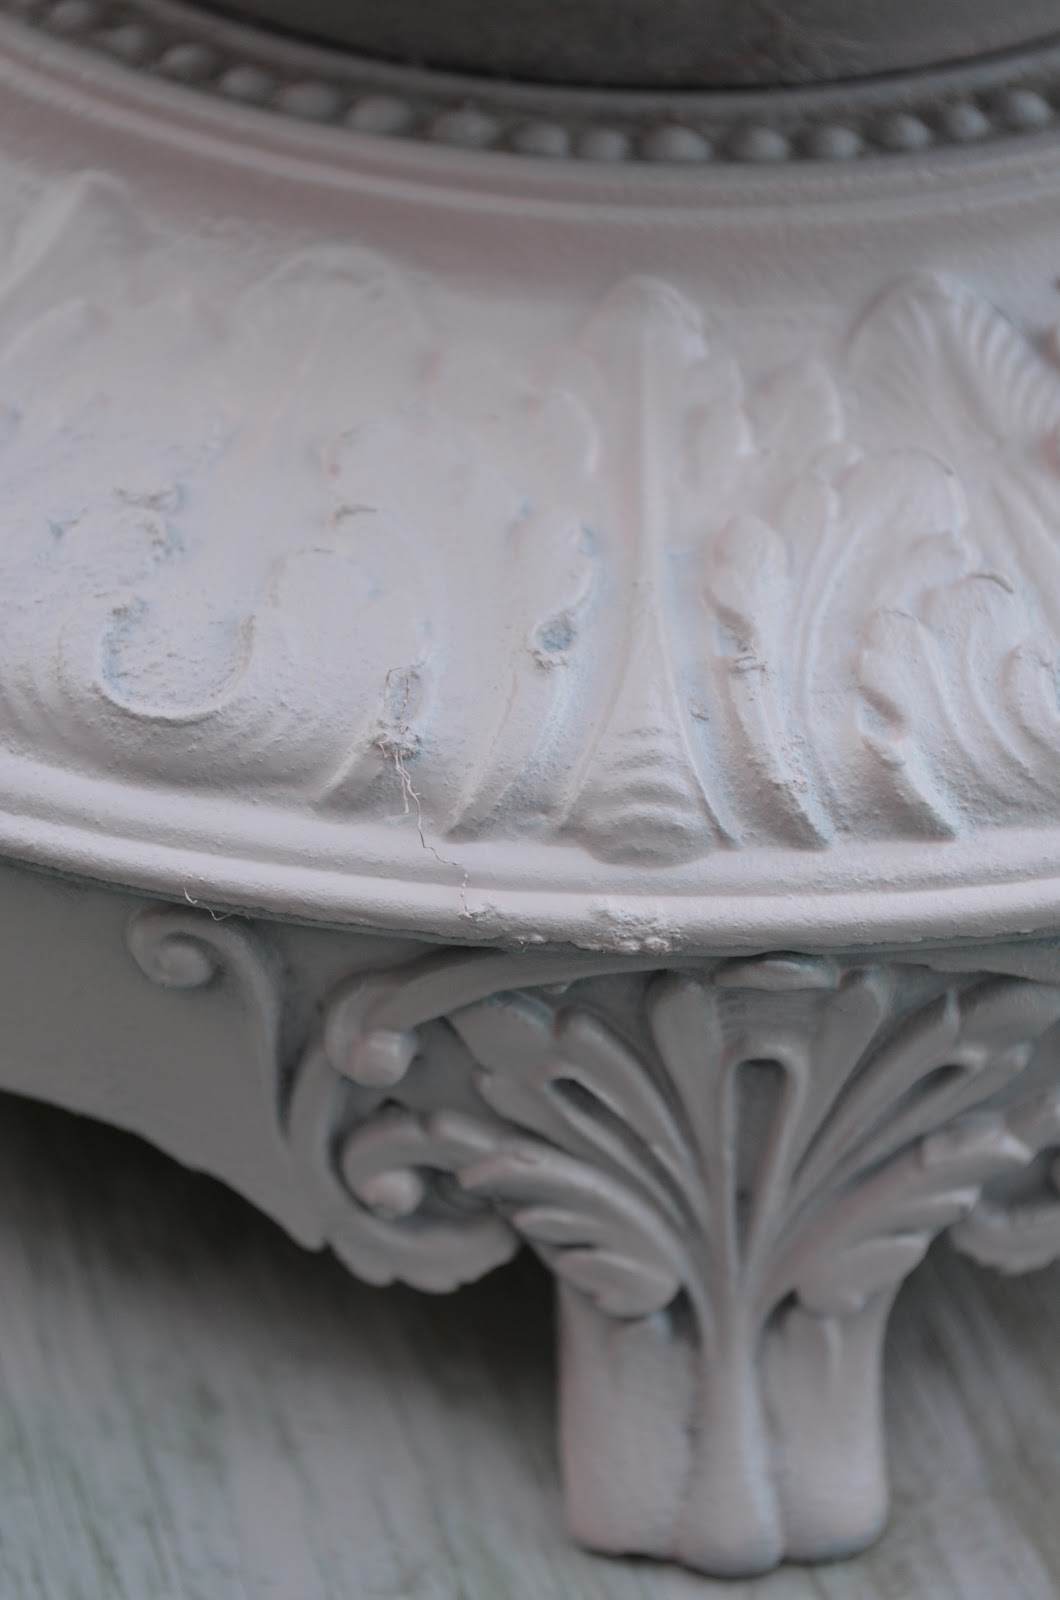
I painted this with Krylon Ballet Slipper in satin finish.  Here is a look at my lady all painted up.  It doesn't show that well in these pics but it is a nice soft blush pink.  So pretty!


A few close ups.


The colour is a little better on this one.

I moved on to the shade.  This shade did not come with the lamp base, I have no idea where I picked up this beauty.  This lamp should have a glass shade that points upward.  I do have one (or two), but I want a different look for this lamp.


 I stripped off the old silk, not too hard considering it practically disintegrated at my touch.  The top and bottom ring were wrapped with fabric so that slowed me down a little.  When I was done taking the fabric off I got out the handy dandy wire brush again and gave it a good going over.


 I painted it pink to match the body of the lamp, and wrapped it with tulle, like I did on the green one.  This one was a little harder because of the shape of the shade.


Here she is!


Hey, wait a minute, back that up, I almost forgot to add the bling!  Can't have that can we Kristen?  There, that's better, oh my, don't know what happened to me there for a minute, too excited to get this blogged I guess.


 I made the flower especially for her, I'm thinking of adding some smaller ones, what do you think?


I think I may add a little more bling too.  Is it overdone yet?  ;)
Pin It

Sunday, 30 September 2012

It's Not Easy Being Green, But It's Sure Easier Than Being White and Gold, Lamp Makeover

Pin It
I'm not sure where this lamp came from.  It was in the little house, and I know that I didn't put it there, 'cause I think it is U G L Y!!!

I think it made its way to me because it didn't want to be ugly anymore.  Well, that's what I'm telling myself anyway.


Oh, I almost forgot to take a picture of the shade, here it is, in all its glory.  This is not really a fair picture because I was already cutting the plastic (yes, plastic) shade off when I remembered to take it.


Ta Da!  Here she is, I have to say, I think I'm in love!


I took it apart and washed it.  When it was dry put it back together and spray painted it.  I painted the frame of the shade also as I wanted the green to show.


I wrapped the frame of the shade around and around with a roll of tulle that we had left over from Jasmin's wedding, scrunching it a little as I went.  I added two flowers that I had made last year when I decorated another lampshade.  I think it adds a nice touch.


Okay, I have to admit something, this lamp isn't really in working order yet.  I took it apart the other day because I needed the harp for Sterling's lamp, and I ended up using the cord and plug too.  So now I need to find another old lamp so I can salvage the harp and cord from it to use on this one.  If any of you locals have an old lamp you are planning to throw out, please send it my way.  Obviously I had no intention of doing anything with this lamp a couple of days ago, but there it was, all in pieces, looking so pathetic (insert heavy sigh here), I just couldn't help myself ;)
Sharing at


Pin It

Friday, 28 September 2012

Lighting Up My Life! A Reclaimed Wood Lamp, or two.

Pin It
The other day my son asked me if I had an extra lamp around, "you know, something ... decent" ha ha, I thought about it and realized that all of my lamps are "girly".  Of course the first thing I thought was "I will make him one.".  I seem to be really into the salvaged lumber right now, so this is what I did.  I cut four pieces of lumber to length, 2 2 X 6 and 2 1X6, then I cut a piece of 1X6 to fill the space in the top.  I simply screwed the pieces together, not trying to hide the fact.  It is supposed to be rough after all.


I drilled a large hole in the top to allow the threaded pipe to fit through.  I also drilled a hole in the back of the base, near the bottom, for the cord.


I cut a short piece of threaded pipe and put the wire through it, adding a nut and washer to the pipe.  I gave it a very light sanding as I didn't want to sand off all that beautiful gray exterior.


 I attached the two wires to the socket according to the instructions on the package.


Before I went any further I tested the fixture to make sure it would work.  Yay, success!!!


I put the threaded pipe up through the hole in the top of the base,


and screwed it to the bottom of the socket,


tightening it from the bottom.  To be honest, I got to this point and realized that I hadn't put the harp (to hold the lamp shade) on, and I had to undo everything and redo it once the harp was in place.  Lesson learned.


This was the shade I was planning to use... yeah, I agree, yuck!  It looks funny perched up there.


So I went looking in my stash and found this one... I think it will work, but anybody see a problem?  Yeah, pink trim is not going to cut it.


Yes, black, that looks better, I just hot glued black trim right over the pink.  Now there are so many ways I could snazz this up a bit, but then that wasn't the point was it?


 Because I was set on using this rectangular shade, I made another one, like it?  I like the shade on this base much better.  I may add some crystals or beads or something to this eventually, but for now this is it.


And that girls and boys is what I do on a Friday afternoon when I don't need to go to work.


Shared at
DIY Club
Pin It
Related Posts Plugin for WordPress, Blogger...