Pin It
I was so happy with the green lamp, that I immediately dug out these two beauties that I have had stashed away for at least 15 years, probably 20.
First, I will tackle the lamp on the left. Although I was quite loving the oxidization on the bottom of this lamp, I decided to go ahead and paint it because the whole idea is to update the thing, not to keep it looking old. This lamp was oxidized when I got it, I did not abuse it this way.
I headed to Manuel's workbench for a wire brush and this is what I found. Huh! Really? This is what my eyebrows look like after getting a little too close to the bonfire the other day.
So back I went for another try. Seriously! This is what my eyelashes look after same close encounter with bonfire.
Okay, I know Manuel has a real wire brush because I used it last month ... Oh, yeah, ha ha, I think I know where it is, yup, still in my car! Good thing he didn't need it this past month, he gets a little ornery when I don't put his tools away. Anyway, this is a wire brush I can work with, but seriously, if we are so busy "downsizing" why do we (he) own two wire brushes that look like that?
The lamps didn't look much different when I was done, but I felt better knowing I scraped off the loose dust and dirt.
Now, I am a frugal woman, and I hate to pay large sums of money for things that I (or possibly my friends, right
Wendy) have lying around. I had to think long and hard before I remembered this beauty. I hauled it out and took it apart for the cord and plug. I saved most of the rest of it for future use. Two pieces did go in the garbage (I have until tomorrow to grab them off the back of the truck, hey, I might need them for something!).
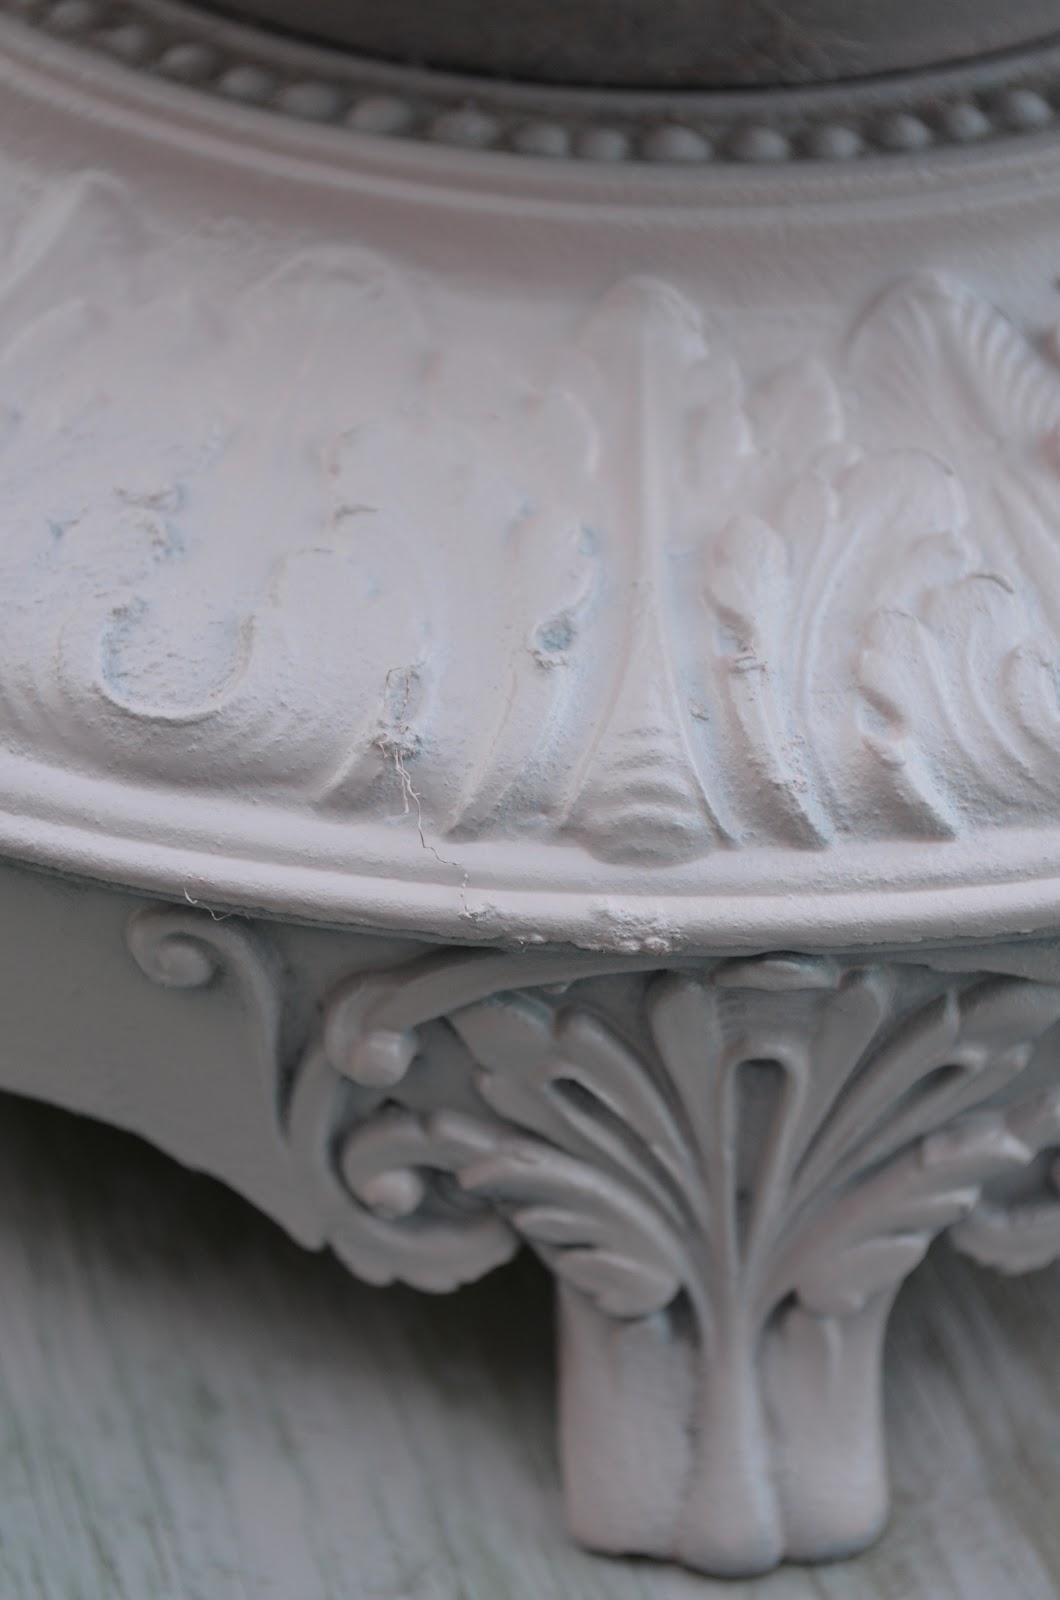
I painted this with Krylon Ballet Slipper in satin finish. Here is a look at my lady all painted up. It doesn't show that well in these pics but it is a nice soft blush pink. So pretty!
A few close ups.
The colour is a little better on this one.
I moved on to the shade. This shade did not come with the lamp base, I have no idea where I picked up this beauty. This lamp should have a glass shade that points upward. I do have one (or two), but I want a different look for this lamp.
I stripped off the old silk, not too hard considering it practically disintegrated at my touch. The top and bottom ring were wrapped with fabric so that slowed me down a little. When I was done taking the fabric off I got out the handy dandy wire brush again and gave it a good going over.
I painted it pink to match the body of the lamp, and wrapped it with tulle, like I did on the green one. This one was a little harder because of the shape of the shade.
Here she is!
Hey, wait a minute, back that up, I almost forgot to add the bling! Can't have that can we Kristen? There, that's better, oh my, don't know what happened to me there for a minute, too excited to get this blogged I guess.
I made the flower especially for her, I'm thinking of adding some smaller ones, what do you think?
I think I may add a little more bling too. Is it overdone yet? ;)
Pin It


.jpg)